Building your own computer used to be a hobby for enthusiasts with soldering irons and arcane knowledge. These days, it's easier than you think — and it's one of the most satisfying projects a tech-curious person can do. You get a machine that fits your exact needs and budget, you understand it better, and you can upgrade it easily for years.
This is a first-timer's guide. I'll walk you through every part you need, what each one does, and how the assembly fits together — without drowning you in jargon. By the end, you'll know whether building is right for you and exactly what to buy.
What we'll cover
The parts you need (and what each does) Plan your build around a goal The #1 rule: compatibility The assembly process, step by step First boot & troubleshooting Is it worth building vs. buying?The parts you need (and what each does)
A custom PC is built from a set of standard components. Here's your shopping list and what each part is responsible for:
| Part | What it does | The simple way to think of it |
|---|---|---|
| CPU (processor) | The brain; runs all calculations | How fast the computer thinks |
| Motherboard | The main board connecting everything | The nervous system |
| RAM | Temporary memory for running apps | How much it can juggle at once |
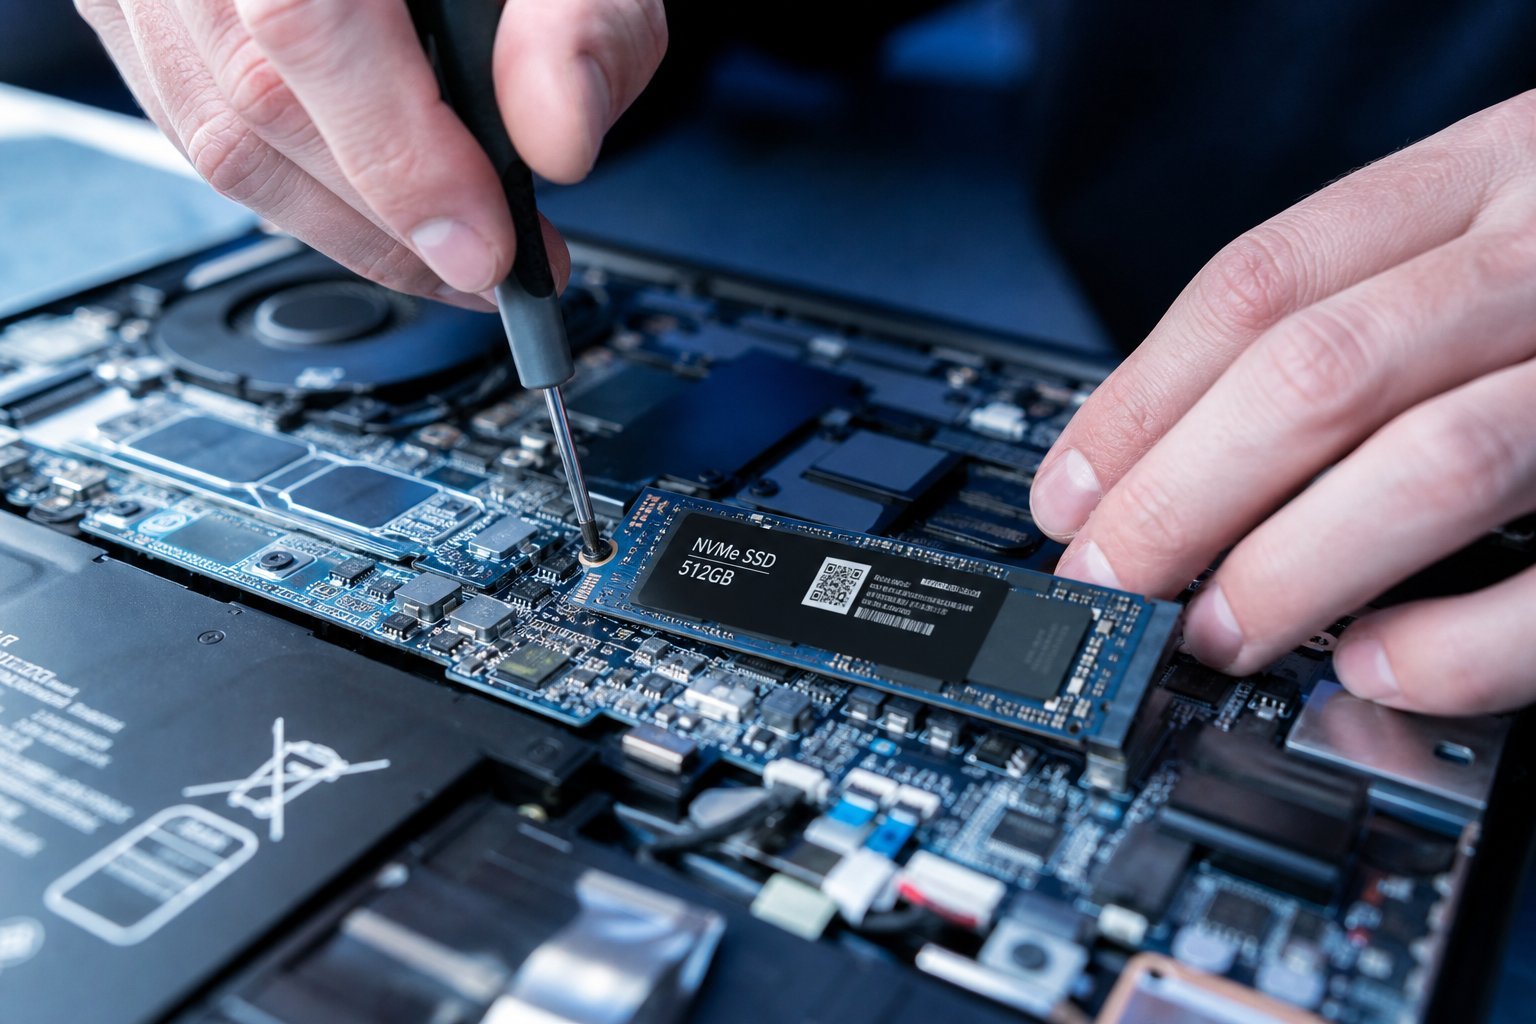
| Storage (SSD) | Where files live permanently | How much you can store |
| Power supply (PSU) | Supplies electricity to everything | The heart |
| Case | The box holding it all | The home |
| Graphics card (GPU) | Renders images/video | The eyes (essential for gaming) |
| CPU cooler | Keeps the CPU cool | The cooling system |
Note: some CPUs (like Intel's with integrated graphics) can work without a separate graphics card for basic use, but for gaming or creative work, a dedicated GPU is essential.
Plan your build around a goal
The biggest mistake first-time builders make is picking parts first and goals second. Do the opposite. Decide what the PC is for before you buy anything:
- Everyday PC / office work: You don't need a gaming GPU. A modest processor, 16 GB RAM, and an SSD is plenty. Budget-friendly.
- Gaming PC: The graphics card is your priority. Spend the most here. A good GPU matters more for games than a top-tier CPU.
- Content creation / video editing: You want a strong CPU, lots of RAM (32 GB), and a decent GPU.
This goal-first approach guides every purchase and keeps you from overspending on parts you don't need.
The #1 rule: compatibility
Here's the part that scares people — but it's more manageable than it seems. You can't just buy random parts; they have to work together. The key compatibility points are:
- CPU and motherboard socket: The CPU must fit the motherboard's socket. This is the critical match. Intel CPUs use one socket type, AMD another, and even within those, generations matter.
- Motherboard and RAM type: The RAM must be the type the motherboard supports (e.g., DDR4 vs DDR5).
- Power supply wattage: Your PSU must deliver enough power for all your components, especially the GPU. Buy more wattage than you think you need for headroom.
- Case size: Make sure your motherboard, GPU and cooler physically fit in the case.
✨ Use a compatibility checker
Websites like PCPartPicker let you build a list of parts and automatically flag compatibility problems. It's the single best tool for first-time builders — use it and most of the worry disappears.
The assembly process, step by step
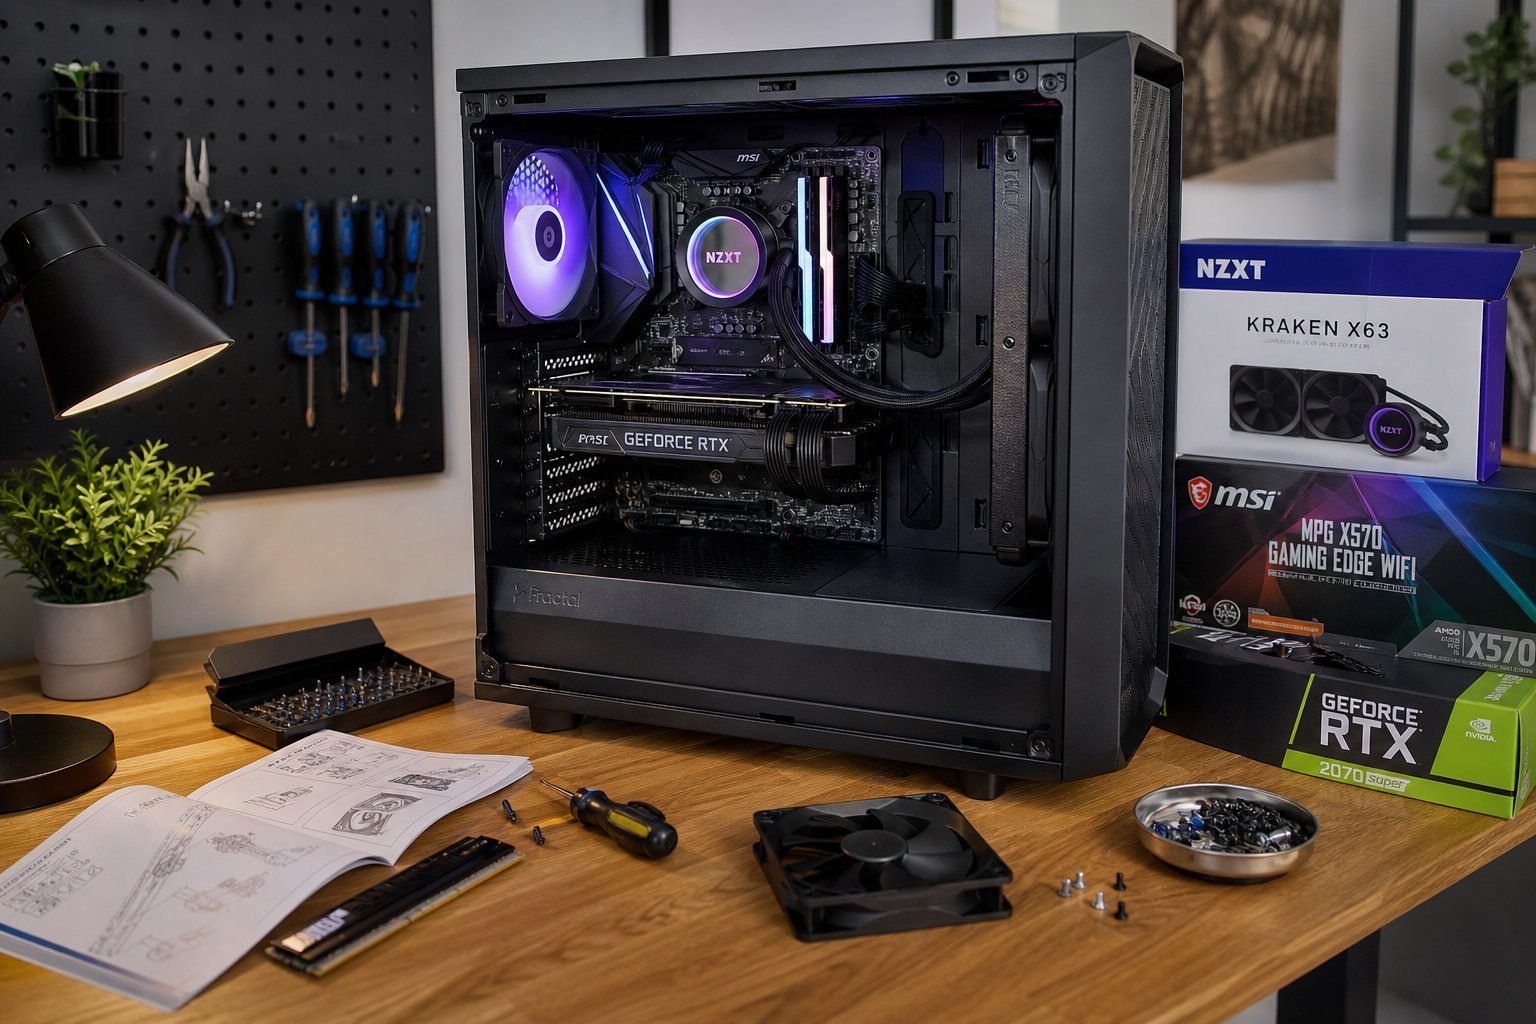
Once your parts arrive, assembly is surprisingly methodical. Here's the typical order (a step-by-step visual guide is worth watching on YouTube too):
Take your time. Most first builds take 2–4 hours, and the biggest risks are force-fitting parts (which you should never do) and static damage (which basic precautions prevent).
First boot & troubleshooting
When you press the power button for the first time, the moment of truth arrives. Here's what to expect and common hiccups:
- It powers on and shows a setup screen: Perfect. Install your operating system (Windows or a Linux distro) and you're done.
- It powers on but shows nothing on screen: Check the monitor cable is plugged into the graphics card, not the motherboard, if you have a GPU. Re-seat the RAM and GPU.
- It beeps or flashes error codes: The motherboard uses beeps/LEDs to tell you what's wrong. Look up the code — it usually points to RAM, CPU, or graphics.
- It turns on then immediately off: Often a power or connection issue. Check all power cables are firmly seated.
Most first-build problems are simple connection issues. The compatibility checker prevents the frustrating part (wrong parts), and careful seating prevents the rest.
⚠️ Be gentle
Never force any component. Parts are designed to fit a specific way — if it's not going in easily, something's misaligned. Check orientation and try again. Force is how parts break.
Is it worth building vs. buying?
Let's be honest about the pros and cons, because building isn't for everyone.
✅ Why build
- Better performance per dollar
- Pick exactly the parts you want
- Easy to upgrade later
- You learn how your computer works
- Genuinely satisfying to complete
❌ Why buy pre-built
- Comes ready to go, no assembly
- Includes a warranty covering everything
- No risk of a wrong part
- No time spent learning
- Support if something breaks
If you enjoy learning and want the best value and future flexibility, building is a great choice — and this guide plus a compatibility checker gets you 90% of the way. If you'd rather plug in and play, a pre-built is perfectly fine; just be aware you'll often pay more for the same performance.
📌 Bottom line
Building a PC is about choosing compatible parts for your goal and assembling them in a logical order. Use a compatibility checker, start with a clear purpose (gaming, work, or creation), and take your time. It's easier than most people fear — and the sense of accomplishment when it boots is worth every minute.