You don't need a thousand-dollar camera to take great photos anymore. The truth is, your smartphone's camera is astonishingly capable — most people simply never learn to use it well. The difference between an average snapshot and a photo people actually compliment often comes down to a handful of simple techniques, not expensive gear.
This guide covers practical, real-world tips that work on any phone, whether it's a flagship or a budget model. No jargon, no confusing modes — just things you can do today to make your photos sharper, better lit and more interesting.
What you'll learn
Clean your lens first Master the light Tap to focus and expose Composition rules that instantly improve photos Turn on the grid Take better low-light shots A quick, easy editClean your lens first
This is the most underrated tip in photography, and it costs nothing. Your phone spends all day in your pocket, your hand, or on surfaces — and the camera lens collects fingerprints, dust and grime. A smudged lens makes every photo look hazy and soft, and most people never even realize it.
Before every important shot, give the lens a quick wipe with a soft, dry cloth — a microfibre cloth is ideal. Just that one habit sharpens your photos more than almost any setting. You'll be amazed at the difference between a greasy lens and a clean one.
✨ Carry a cloth
Keep a small microfibre cloth (the kind for glasses works perfectly) with your phone. A two-second wipe before a shot is the highest-return photography habit there is.
Master the light
Photography is literally "writing with light," so it's no surprise that light is the single biggest factor in photo quality. The good news is you don't need a studio — you just need to understand a couple of things about natural light.
The golden rule: soft, diffuse light is your friend; harsh, direct light is not.
- Shoot near a window when indoors. The soft daylight coming through a window is flattering for people and products.
- Avoid the harsh midday sun. Direct sunlight creates harsh shadows and squinting. Shoot in the shade or during the "golden hour" (the hour after sunrise and before sunset), when light is warm and soft.
- Never use the phone's flash as a main light for people. It's harsh and unflattering. Rely on available light instead.
- Don't shoot into the sun. Unless you want a silhouette, put the sun behind you so your subject is lit from the front.
💡 The window trick
For the best indoor portraits, stand your subject facing a window, not with their back to it. The window light becomes a soft, natural "key light" that makes faces look great with zero equipment.
Tap to focus and expose
Here's a feature almost everyone ignores: tap the screen before taking a photo. Your phone's camera doesn't automatically know what you want to focus on. When you tap, two things happen — it focuses on that point and adjusts the exposure (brightness) for it.
Try this: point your phone at a scene where part is bright and part is shadowy, and tap on different areas. Watch how the image brightens or darkens. Tapping on your subject's face makes the camera expose for their skin instead of the bright sky behind them.
Even better, after tapping, many phones let you drag a small sun/brightness icon up or down to fine-tune exposure manually. This gives you control over how light or dark the final photo looks.
Composition rules that instantly improve photos
Composition is just how you arrange things in the frame, and a few classic rules will transform your shots from "random" to "deliberate":
- Fill the frame. Get closer to your subject. Most photos are improved simply by taking a few steps forward. Avoid lots of empty, boring space around the subject.
- Keep it simple. Remove clutter from the background. A clean, uncluttered background makes the subject stand out.
- Watch the horizon. For landscapes, keep the horizon straight — a tilted horizon is instantly noticeable and looks sloppy.
- Shoot from eye level with your subject for natural portraits. For kids and pets, get down to their eye level — it makes a huge difference.
- Rule of thirds (more on this below) — the most famous rule of all.
Turn on the grid (the rule of thirds)
The "rule of thirds" is the most famous composition rule, and it's dead simple. Imagine your photo divided into nine equal rectangles by two vertical and two horizontal lines. The idea is to place your main subject on one of those lines or at one of the four intersection points, rather than dead center.
Why? Off-center subjects tend to feel more natural and more interesting to the eye than perfectly centered ones. It adds a sense of balance and motion.
To use it, first turn on the grid in your camera settings:
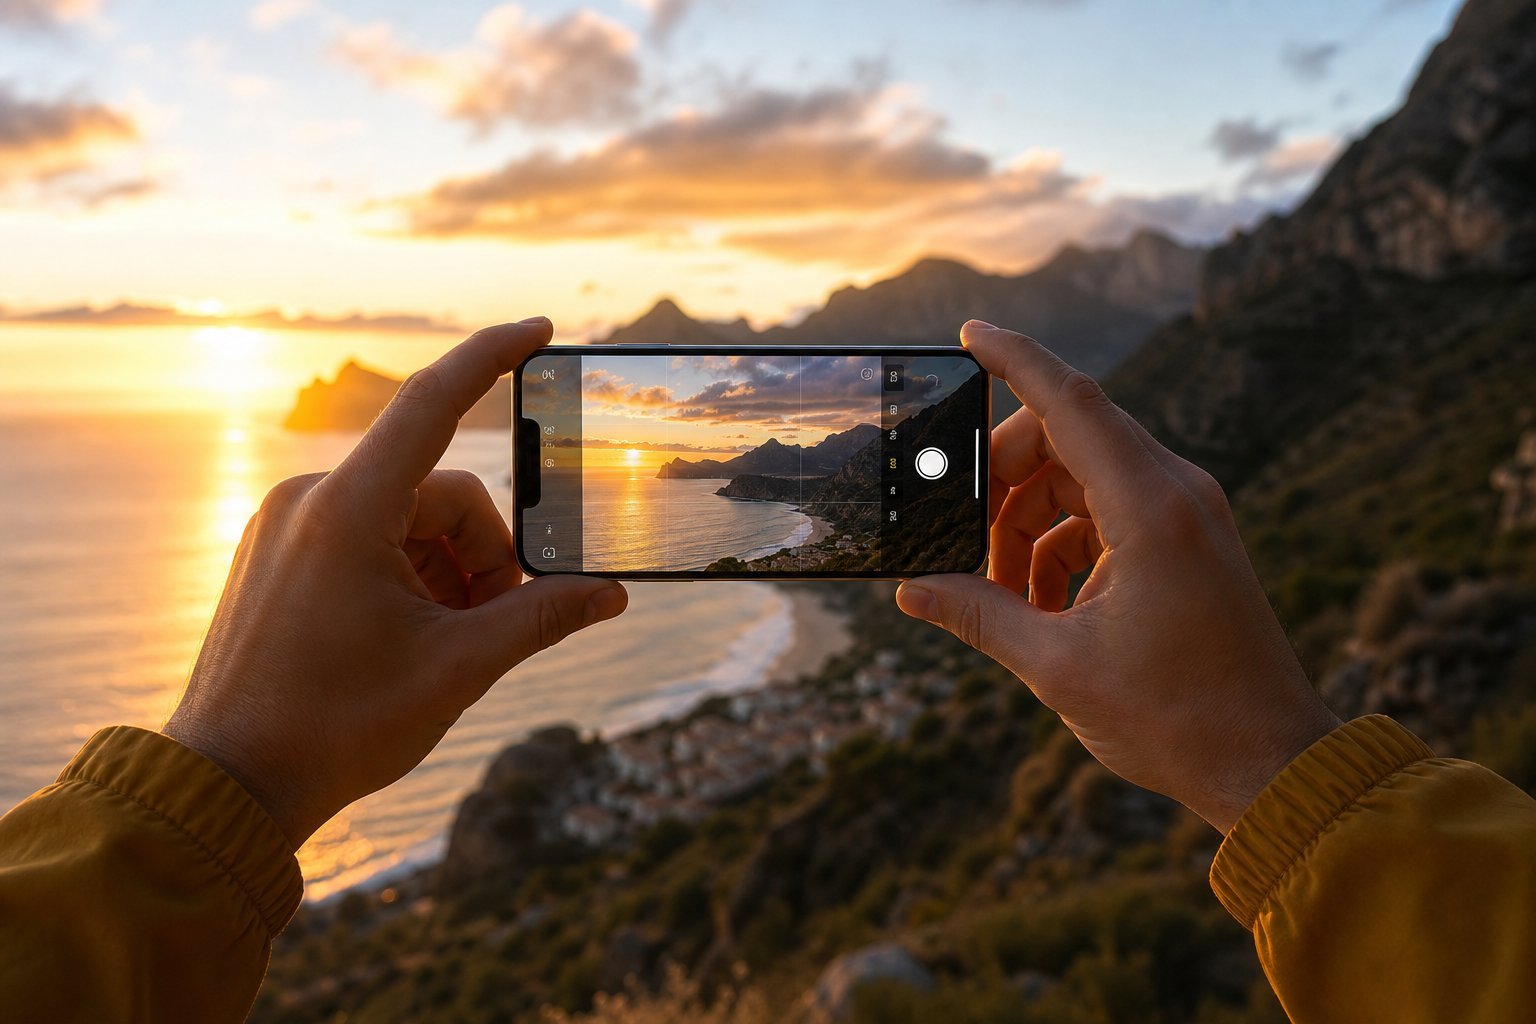
Once the grid lines appear, place your subject on one of the intersection points. For example, in a sunset photo, put the horizon on the upper or lower third line rather than splitting the image in half. In a portrait, put the person's eyes on the upper third line.
✨ It's a guideline, not a law
Centered compositions can look great too — especially for symmetric subjects. Think of the rule of thirds as a helpful default, not a rigid requirement.
Take better low-light shots
Night and indoor shots are where phones struggle most — and where most people make the same mistake: they try to take the photo quickly because it's dark. The opposite is actually what works.
Modern phones have a night mode (called Night Mode on iPhone, Night Sight on Pixel, and similar names elsewhere). Here's how to use it properly:
The biggest low-light mistake is moving. If your night shots are coming out blurry or dark, the culprit is almost always hand shake. Stabilize the phone and give it those extra seconds.
⚠️ Don't zoom with your fingers
Digital zoom just crops and magnifies the image, which makes it blurry and noisy — especially in low light. Instead of zooming in, physically move closer, or crop the photo later when you edit. Optical zoom (on phones that have a separate zoom lens) is fine; digital zoom is the problem.
A quick, easy edit
Even great photos benefit from a light edit. You don't need professional software — your phone's built-in editor is plenty for everyday shots. A good edit is subtle, not heavy-handed.
Start with these basic adjustments:
- Light: Brighten slightly if the photo is dark, but don't overdo it or you'll lose detail.
- Contrast: A small bump adds punch and makes colors pop.
- Warmth: Adjust if the photo looks too blue or too orange.
- Crop and straighten: Fix the framing and level the horizon.
The key word is subtle. If an edit looks obvious, it's too much. The goal is to make your photo look like the best version of the real scene — not an over-processed cartoon.
📌 The 5 things that matter most
1) Clean the lens. 2) Use soft natural light and avoid the flash. 3) Tap to focus and expose. 4) Use the grid and rule of thirds. 5) Keep steady for low-light shots. Master these five basics and your phone photos will look dramatically better — no new camera required.